
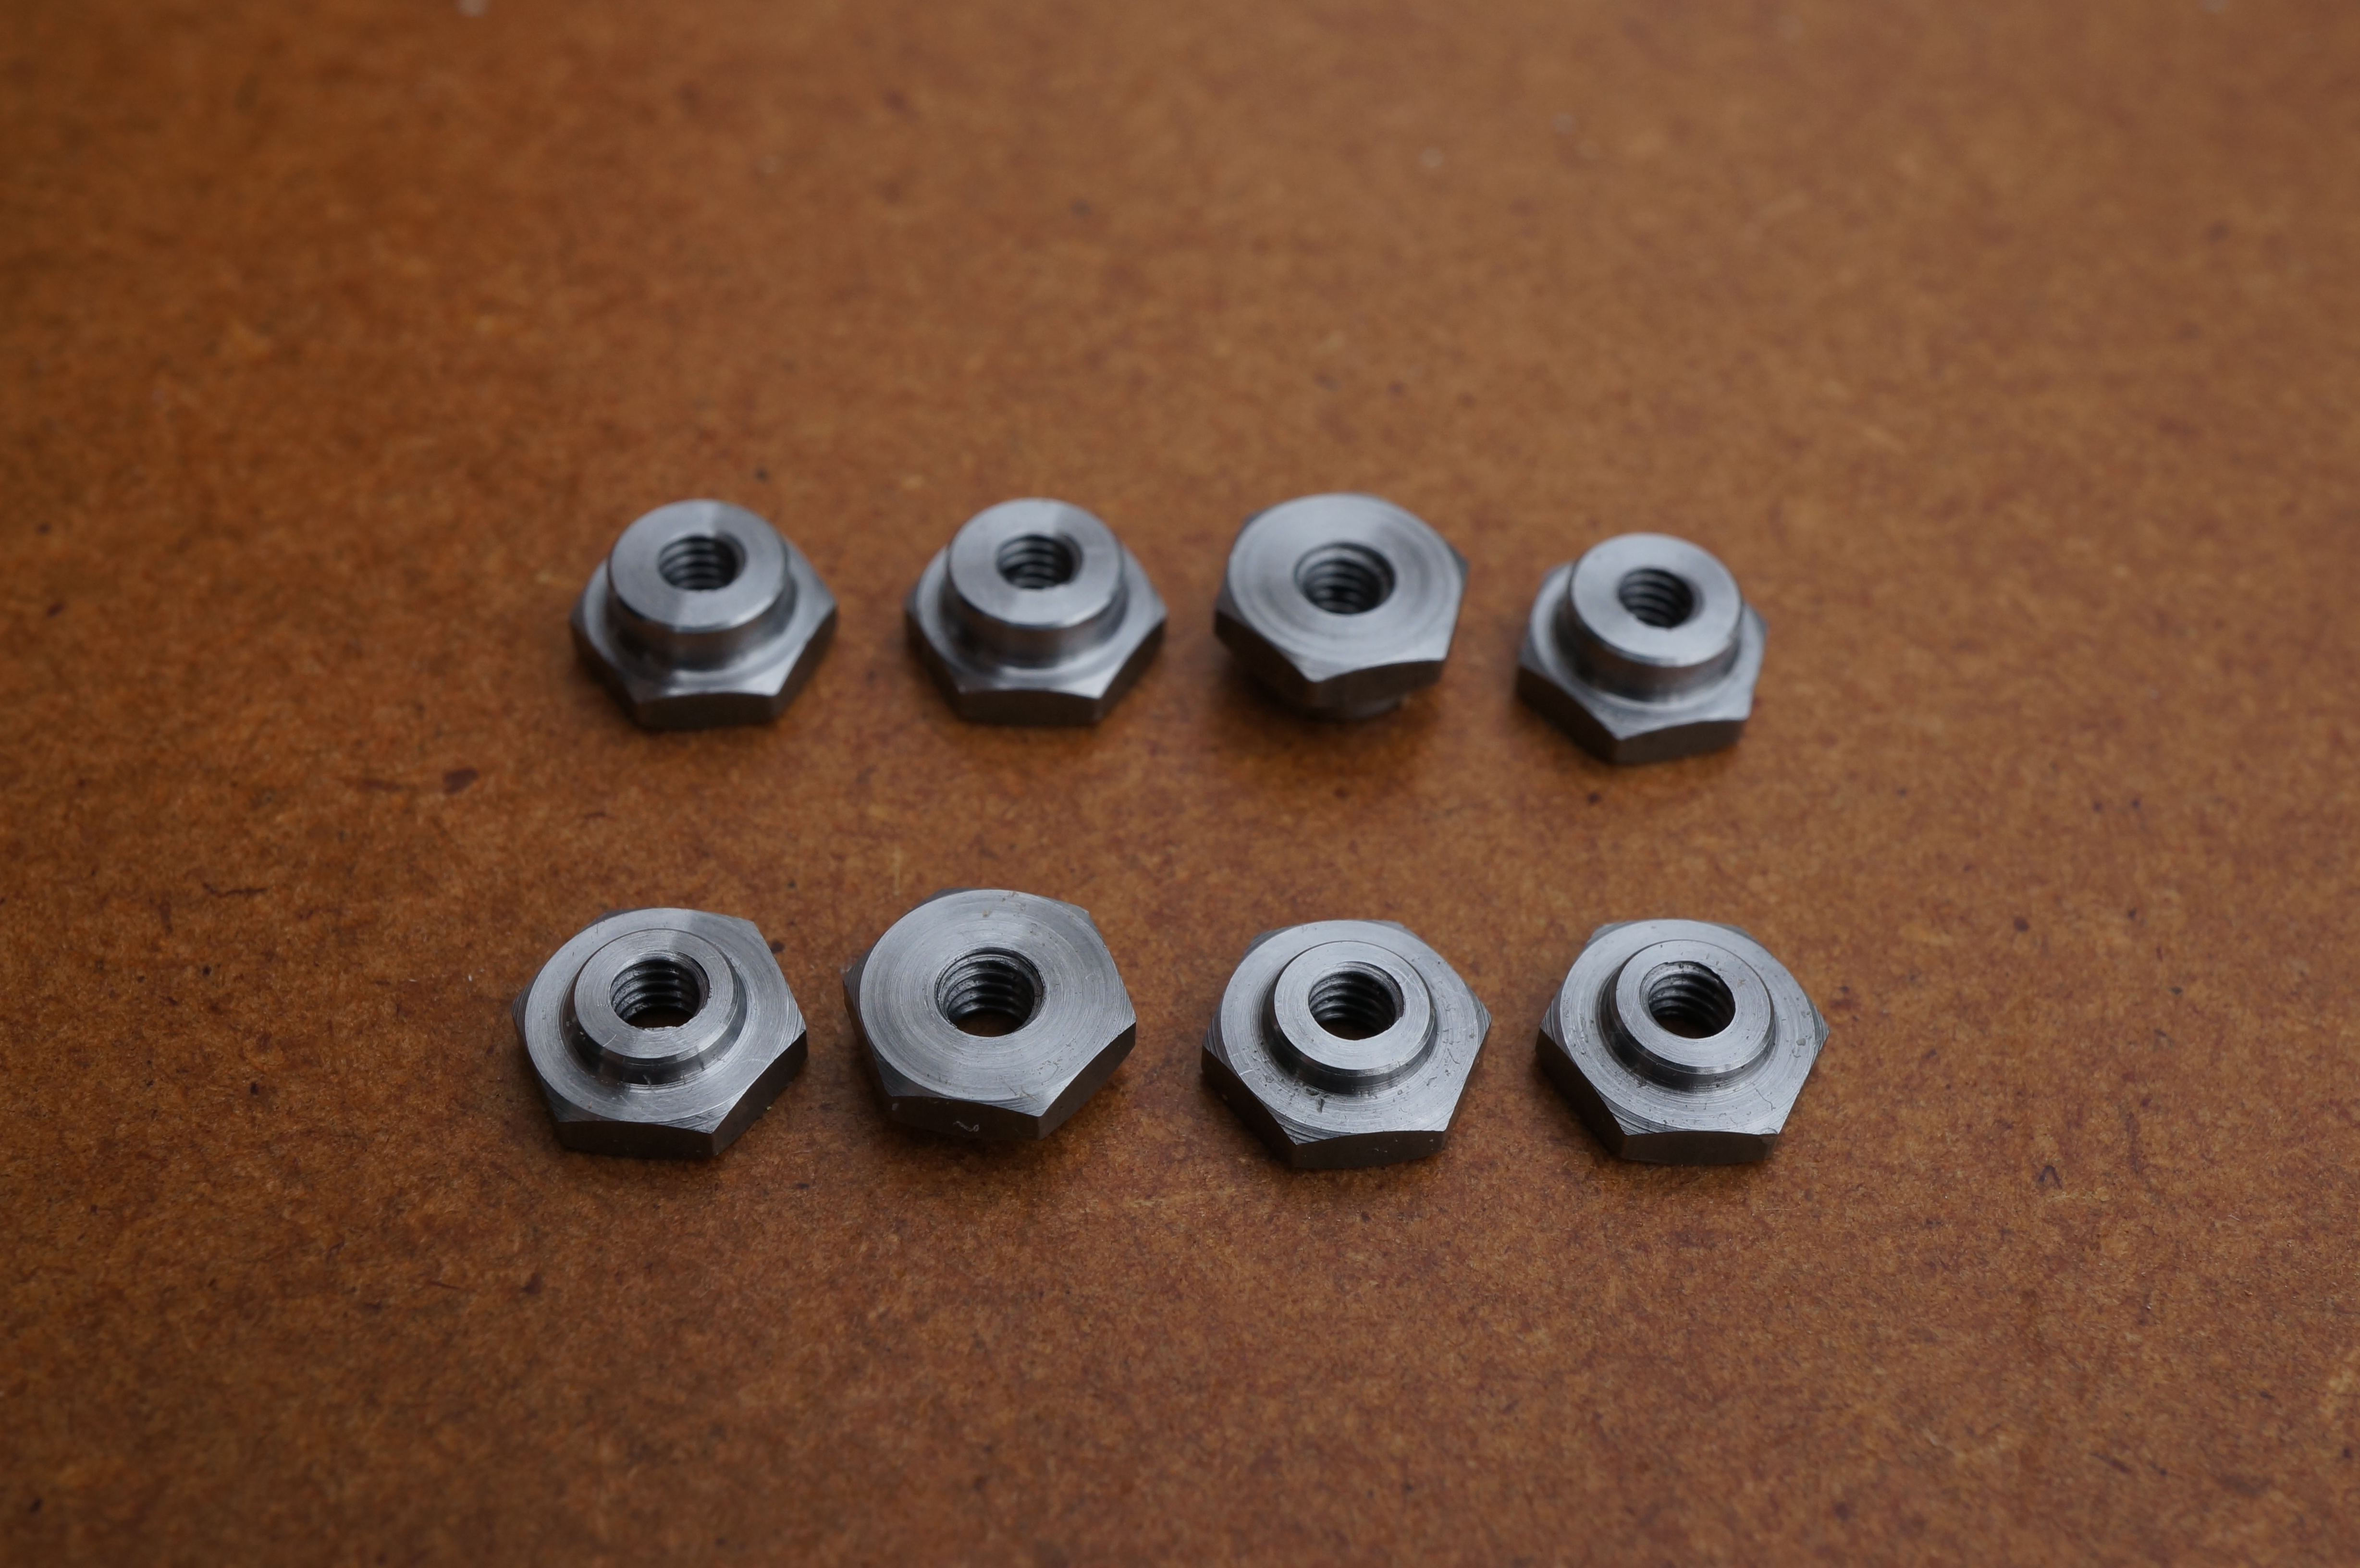
Nuts
With the intended change from 8-BA to 7-BA threaded valve stems, the 1⁄16″ thick valve-spring locknut would contain only a little over 3 threads. Fortunately, the slightly larger hole in the tappet means there is comfortably room for a shoulder to extend inside it. With an overall thickness increased to 3⁄32″ it allows just under 5 threads, a lot better. I used 4-BA hexagon stock for the nuts, nominally 0.002″ less than the originally specified ¼″ A/F.
2015-05-23 – Trying one
I made a trial locknut. I found I would need some means of ensuring true running for the second operation. I must have done other things too, since I have logged for today: (2 hours)
2015-05-26 – Making a start
In a brief session today I first-operation turned two nuts. They are faced, chamfered, drilled, tapped and parted-off. (½ hours)
2015-05-27 – Starting the rest

Firstly, I 1st-op turned the two remaining thick nuts and four locknuts. For the tapping operation I felt the mandrel handle would be too insensitive for this job so instead I used a carrier to turn the tap, with its shank loosely held in the tailstock chuck.
Next, I made a 7-BA stub mandrel for the second operation. For some reason I forget, the thread was poor so I decided to try screwcutting one, and started by grinding a 47½° tool. (3¼ hours)
2015-05-28 – Making a mandrel
I screw cut a new mandrel, finishing the thread with a 7-BA die. The result was not bad this time. I used the ML7 gear program to work out a gear train for 0.48 mm pitch. It offered a 0.4799943 mm pitch using these wheels:
| 7 BA | Cluster | 1st stud | 2nd stud | leadscrew |
|---|---|---|---|---|
| Driver | 35 | 38 | 20 | — |
| Driven | — | 45 | 46 | 85 |
2015-05-30 – Finishing the nuts
Simply mounting the nuts on the threaded mandrel against a face would probably not give the concentricity I wanted so turned a shallow recess on the end of a stub of bar to a diameter to just accept the nut corners. I drilled and tapped the stub to accept the 7-BA stud.
I faced the parted side of each nut to length and turned the shoulders, then cut the 30° chamfers on the hexagons as a third operation, and finally put a 0.004″ chamfer on the edges of all the shoulders. Changing the nuts for these jobs seemed quicker than changing tools. (3¾ hours)
.
Valves
A length of stainless steel is provided in the kit for the valves. I have increased the stem diameter a few thou from 3⁄32″ to 2.5mm. This allows the threaded end to be made 7-BA rather than 8-BA, giving a 70% increase in core area of the thread. I have also made them a little longer than original design to allow for the longer thread length in the locknuts and for a male centre at the end of the stem.
2017-02-15 – Setting up
Today I started working myself up to making some valves. I ground a fresh tool with a radius for the turning the head - stem radius, and refined my 47½° tool for turning BA threads. I tried turning a few oddments of stainless, and the turning tool seems to be working well. (3 hours)
2017-02-18 – More prevarication
Experimenting with making the valve stem threads, I found roughing with the 7BA die, and finishing with a chaser produced good results. The tapped nuts do not need anything like full thread depth on the stems.
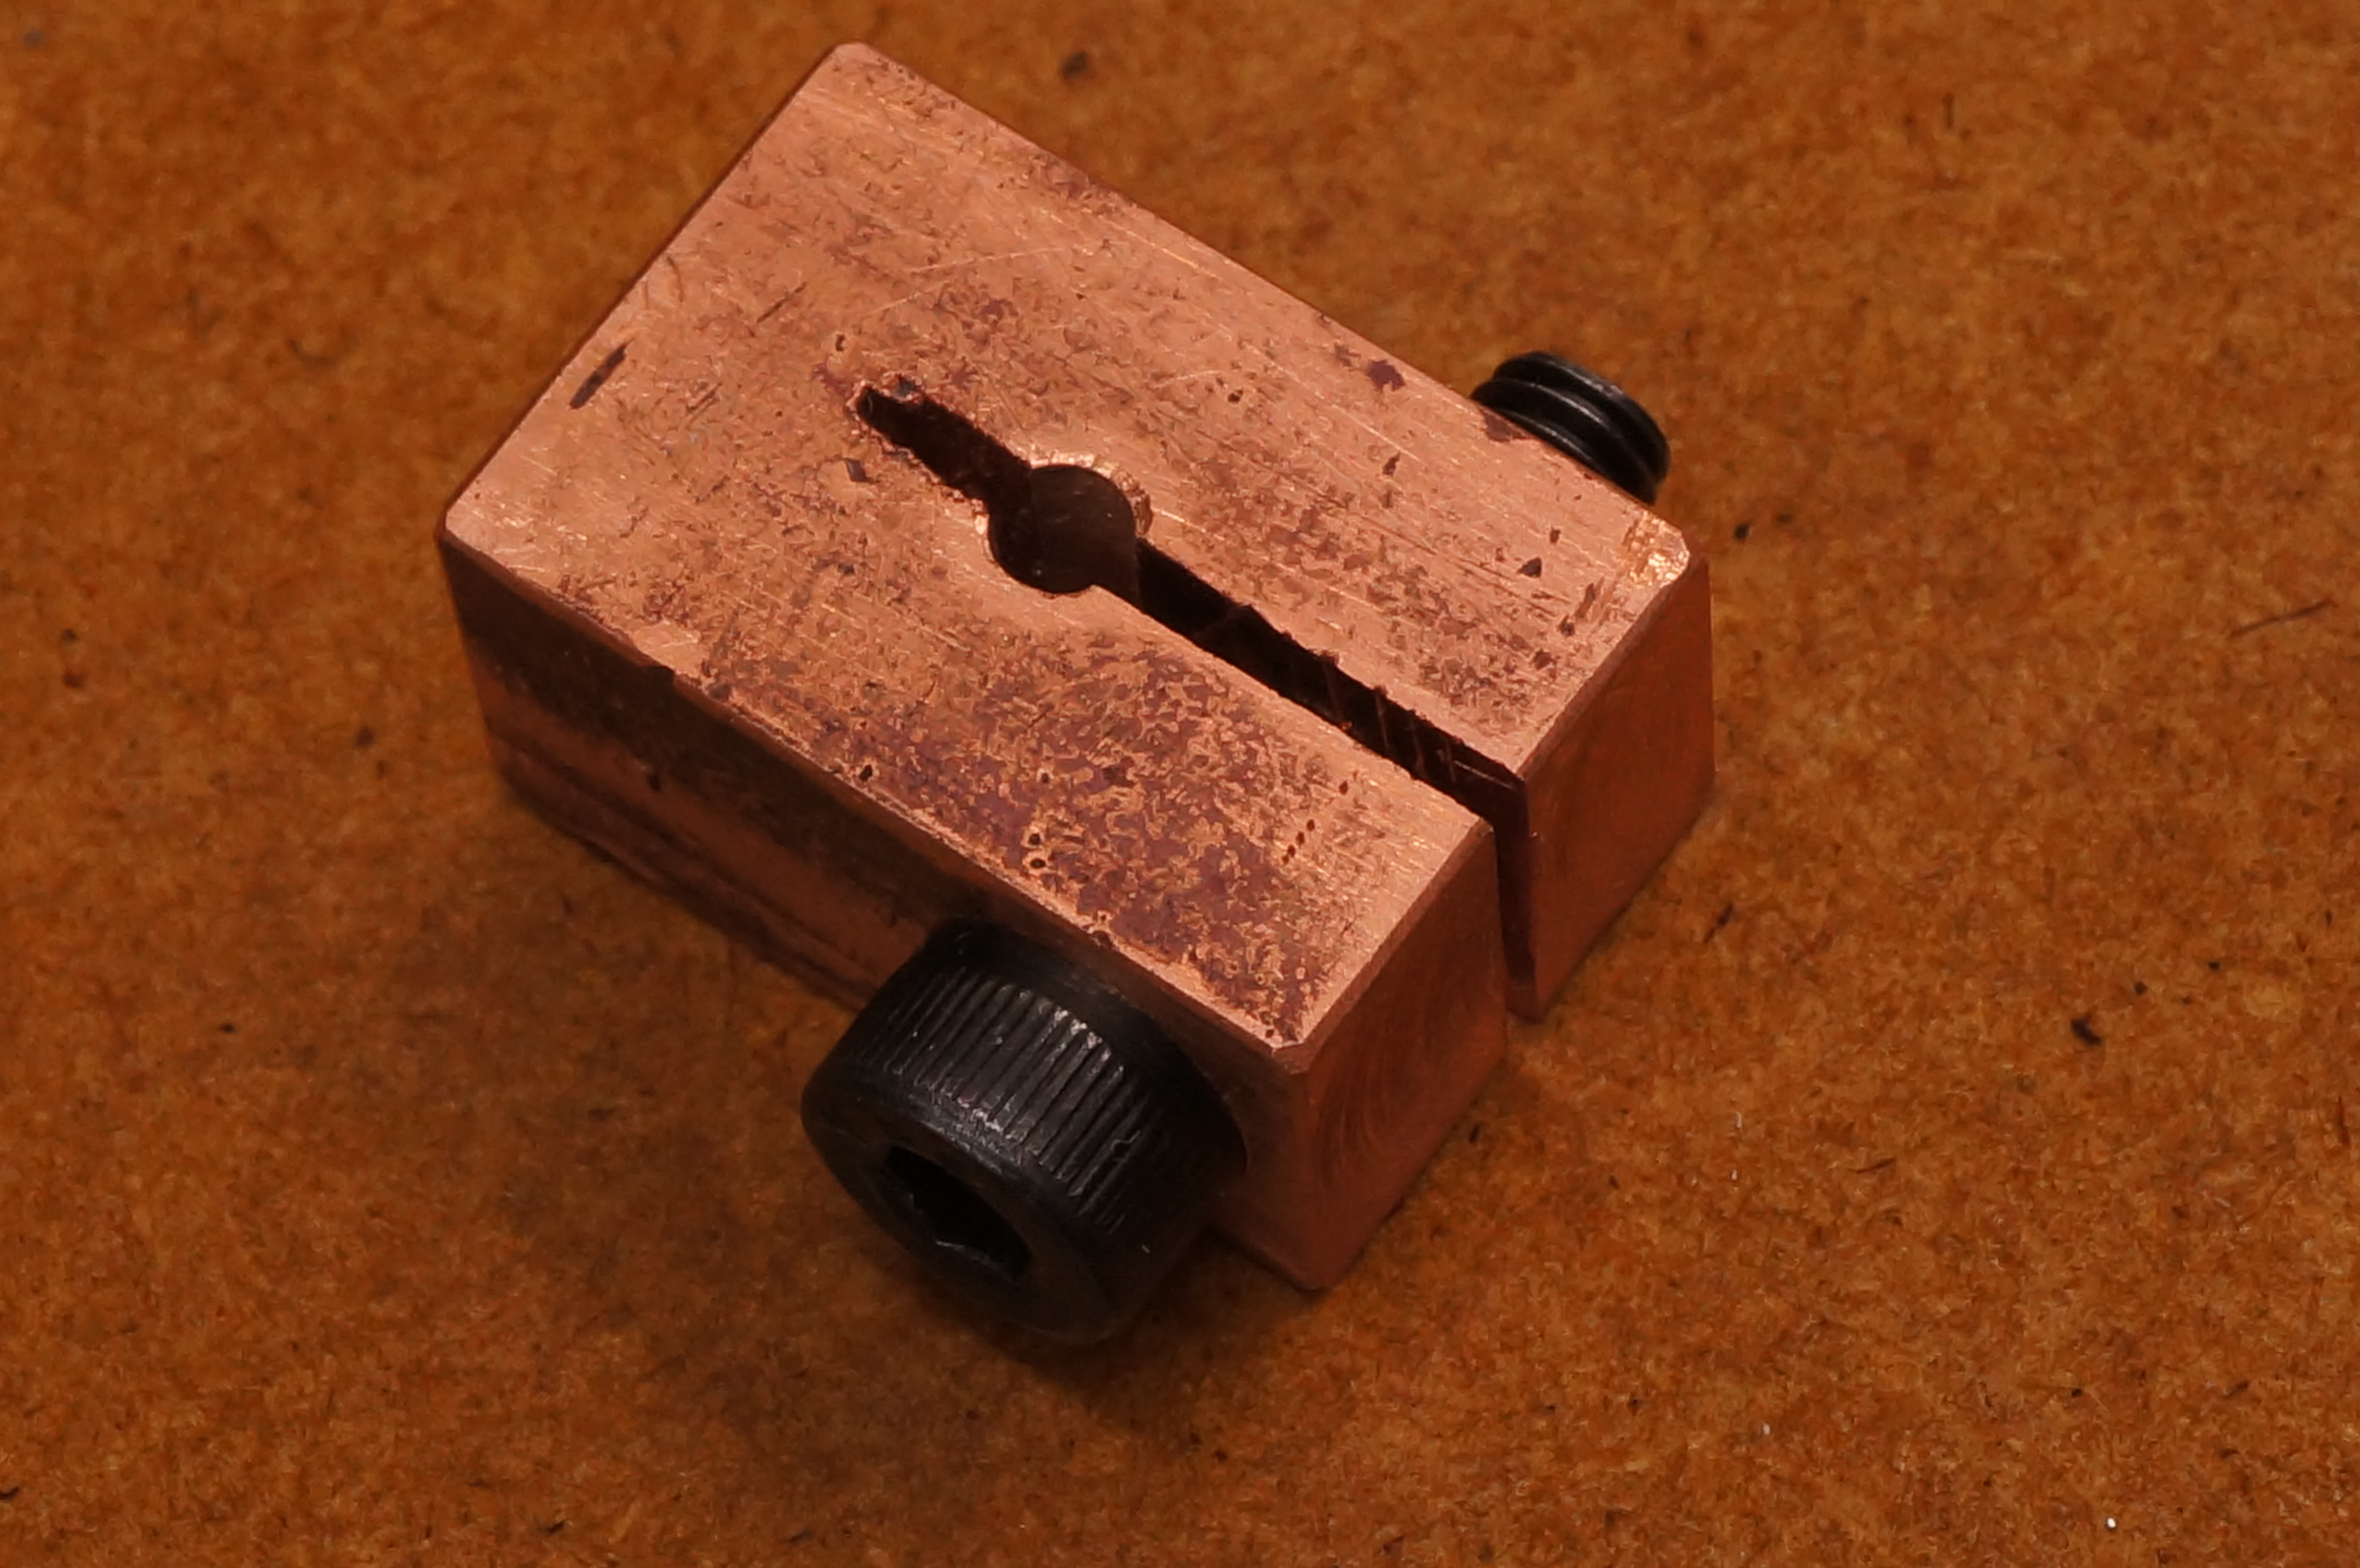
I made up a copper lap for the valve stems as they need to be a good fit in the valve guides, and it will be difficult to turn them to size, or even parallel, with sufficient accuracy.
I turned an experimental valve stem 0.0005″ over size and started lapping. I found 0.0985″ too big for the valve guides, but 0.0984″ just right, almost dead on 2.5mm. In making a trial valve out of this piece, I turned the head a bit under size, so compensated with a slightly shallow seating chamfer. Trying it in place showed that it was a little short over all, but the threaded length was quite a bit too long. I found adjusting the tappet clearance not too difficult with the right spanners. (4¾ hours)
2017-02-25 – Having a go
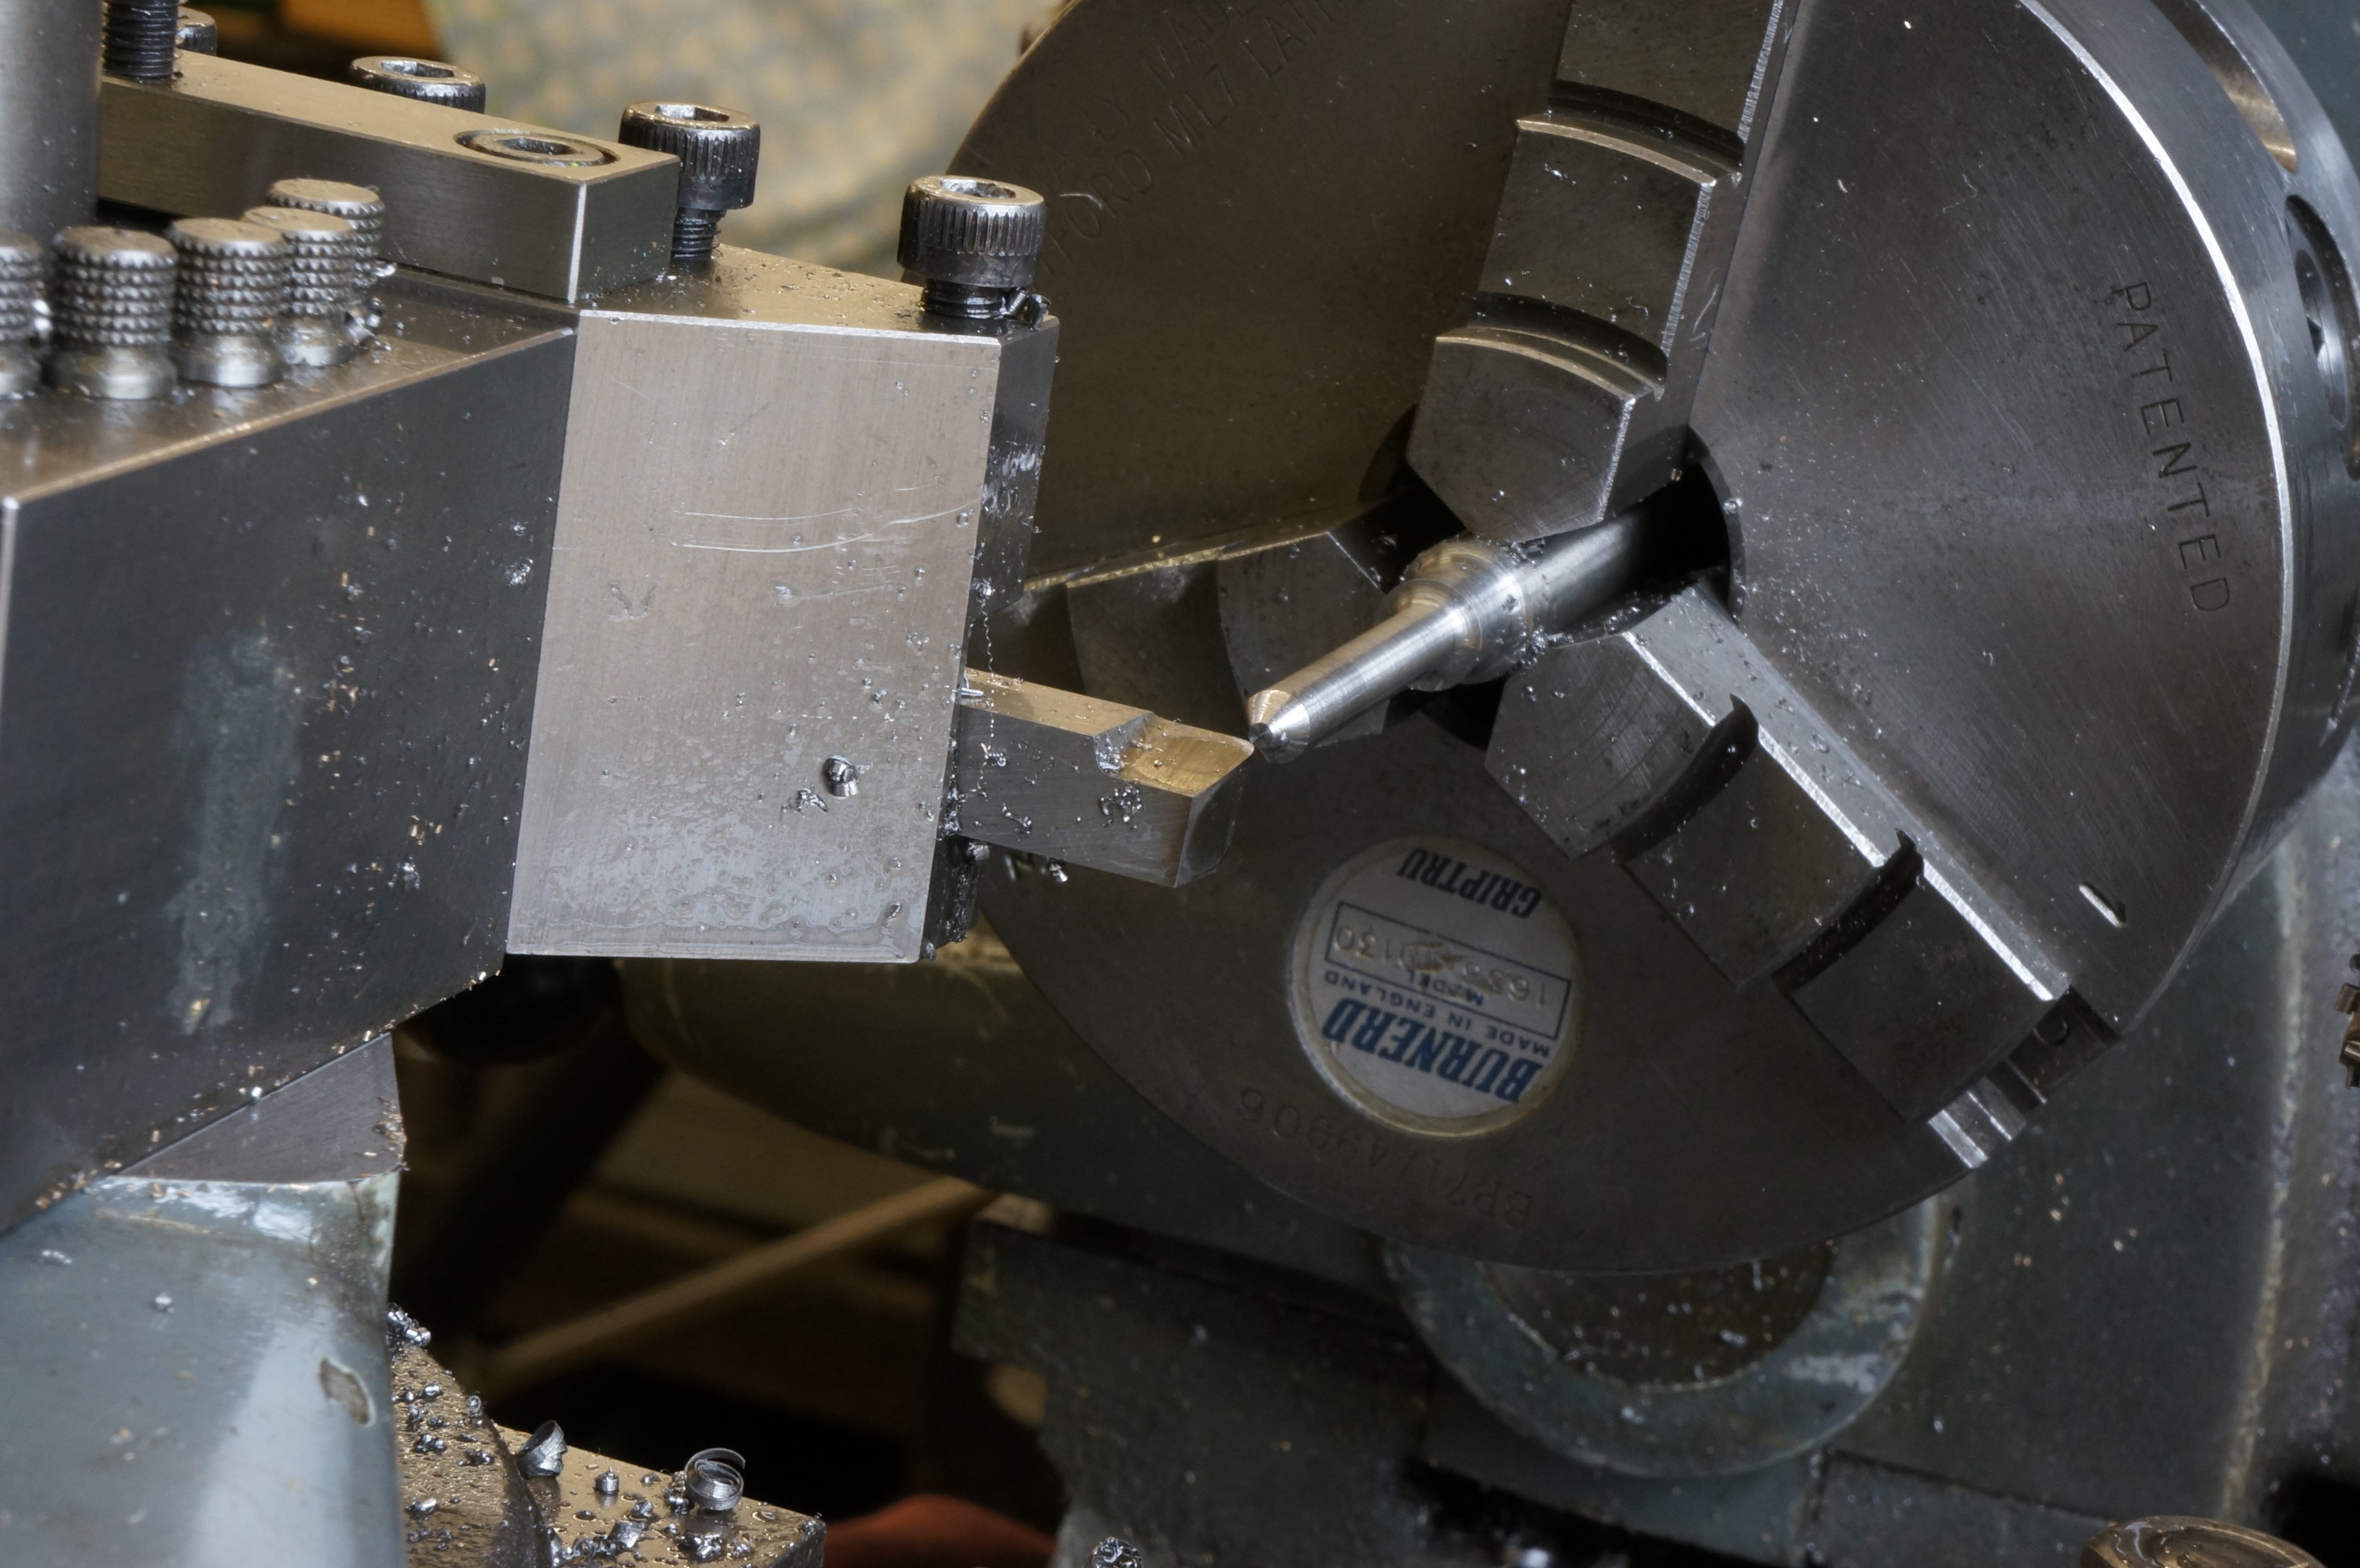
I found the stainless bar supplied with the kit very tough to machine. Starting with the threaded part of the stem, the first thread is bad for the first 3⁄16″ of its length. Trying to part it off the damaged bit results in snapping off the whole of the threaded length. The stock bar is now too short to make all the valves, with more failures expected.
I want all the valves made from the same stuff, so I tried some 3⁄8″ bar I have had in stock for decades. I parted off a 7″ length, as with the whole bar in the lathe it would stick out of the end and prevent use of the mandrel handle. I turned to thread size, and used a well expanded die to rough cut the thread. It looks OK this time.
I found that in trying to use a chaser to finish the thread, the work is flexing so much that it is altering the pitch. I tried die cutting much closer to size and using the chaser only at the root, where the die leaves a partial thread. This thread is 0.0015″ down on diameter though.
Turning the stem, close to size, a second pass without increasing the cut depth resulted in taking about 0.004′ off the diameter, leaving it more than 0.002″ under size. This one is scrap. (3½ hours)
2017-03-03 – More threading
Turning another stem for the thread resulted in too much taper and too small a diameter. I made it parallel fairly easily with 800 grit paper and a strip of gauge plate. It ended up at 0.0979″ diameter, 0.0014″ undersize. I cut the thread with the die. A nut is a bit loose on the first four threads, and will only go about ⅔ of the way home. Too much else going on today to concentrate. (½ hour)
2017-03-05 – Making a hollow centre
There is now a tooling interlude, in which I make a small, hollow, half centre.
2017-03-11 – Using the hollow centre
After spending some time this morning lapping the hardened conical seat of the centre, I tried it out on a valve stem. Leaving metal for finishing, this came out 0.001″ tapered over the whole length, smaller at the outboard end. This centre will only be used for turning the threaded part, so that is plenty good enough. (½ hour).
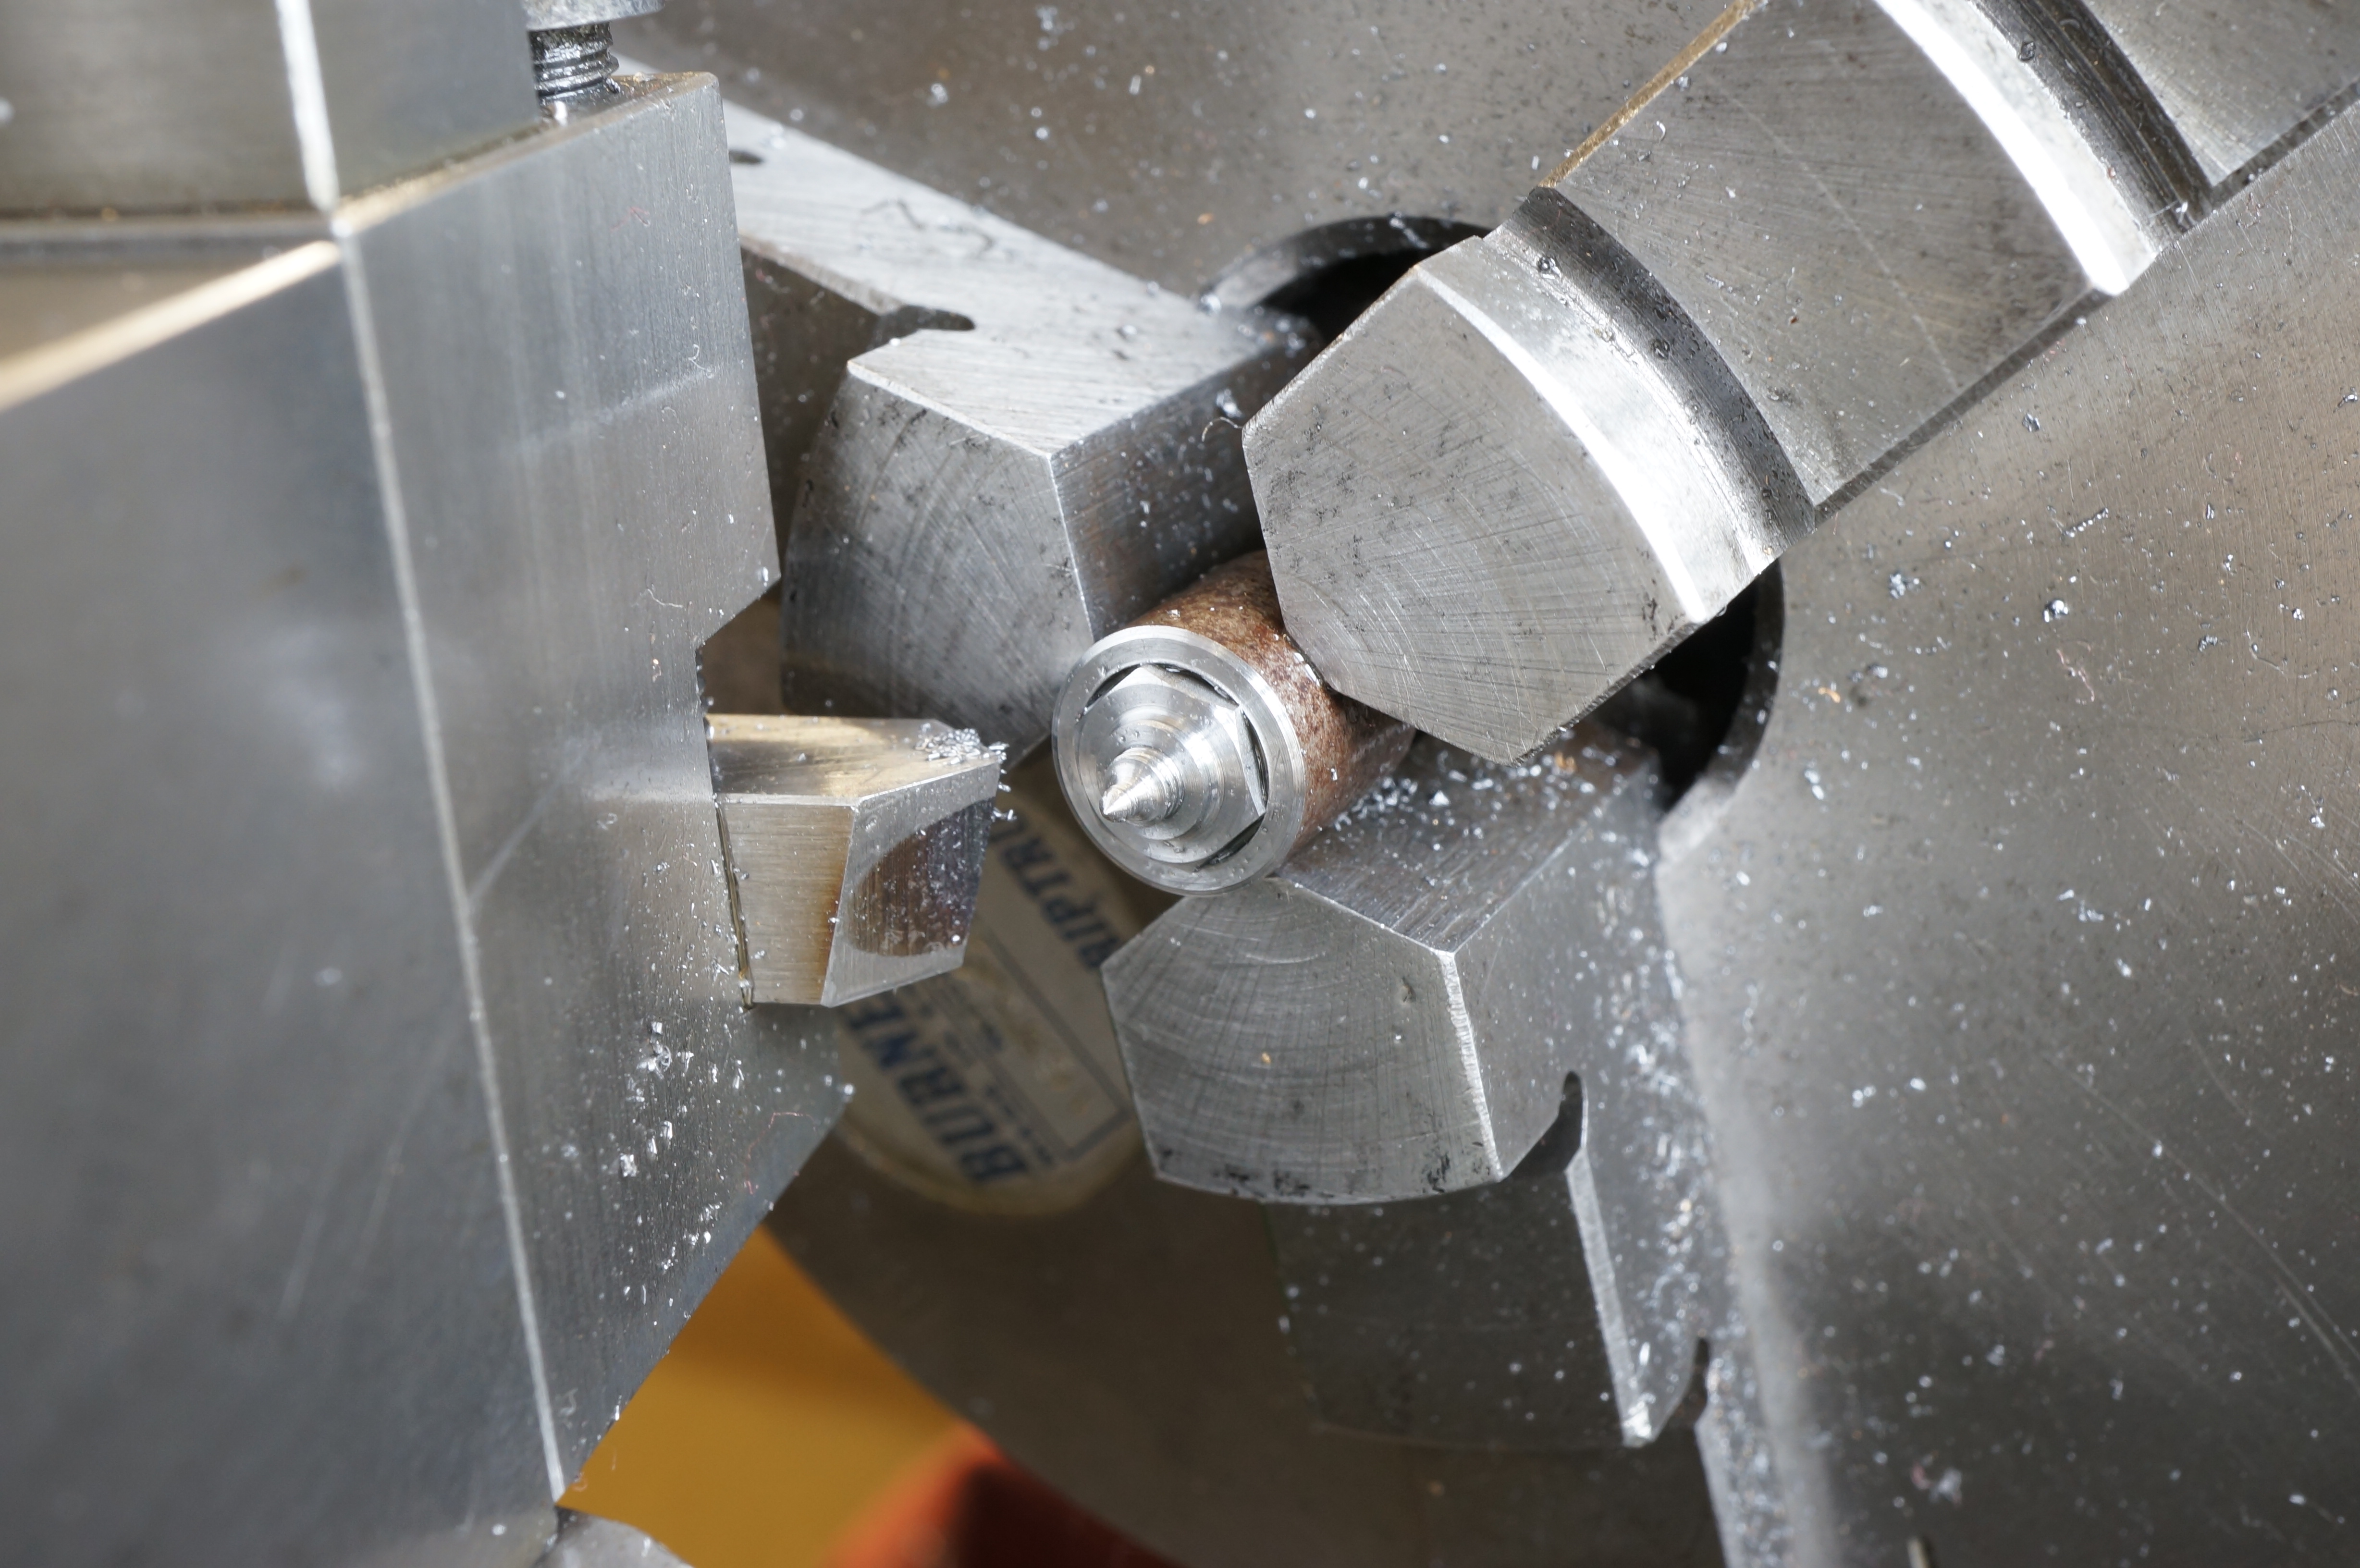
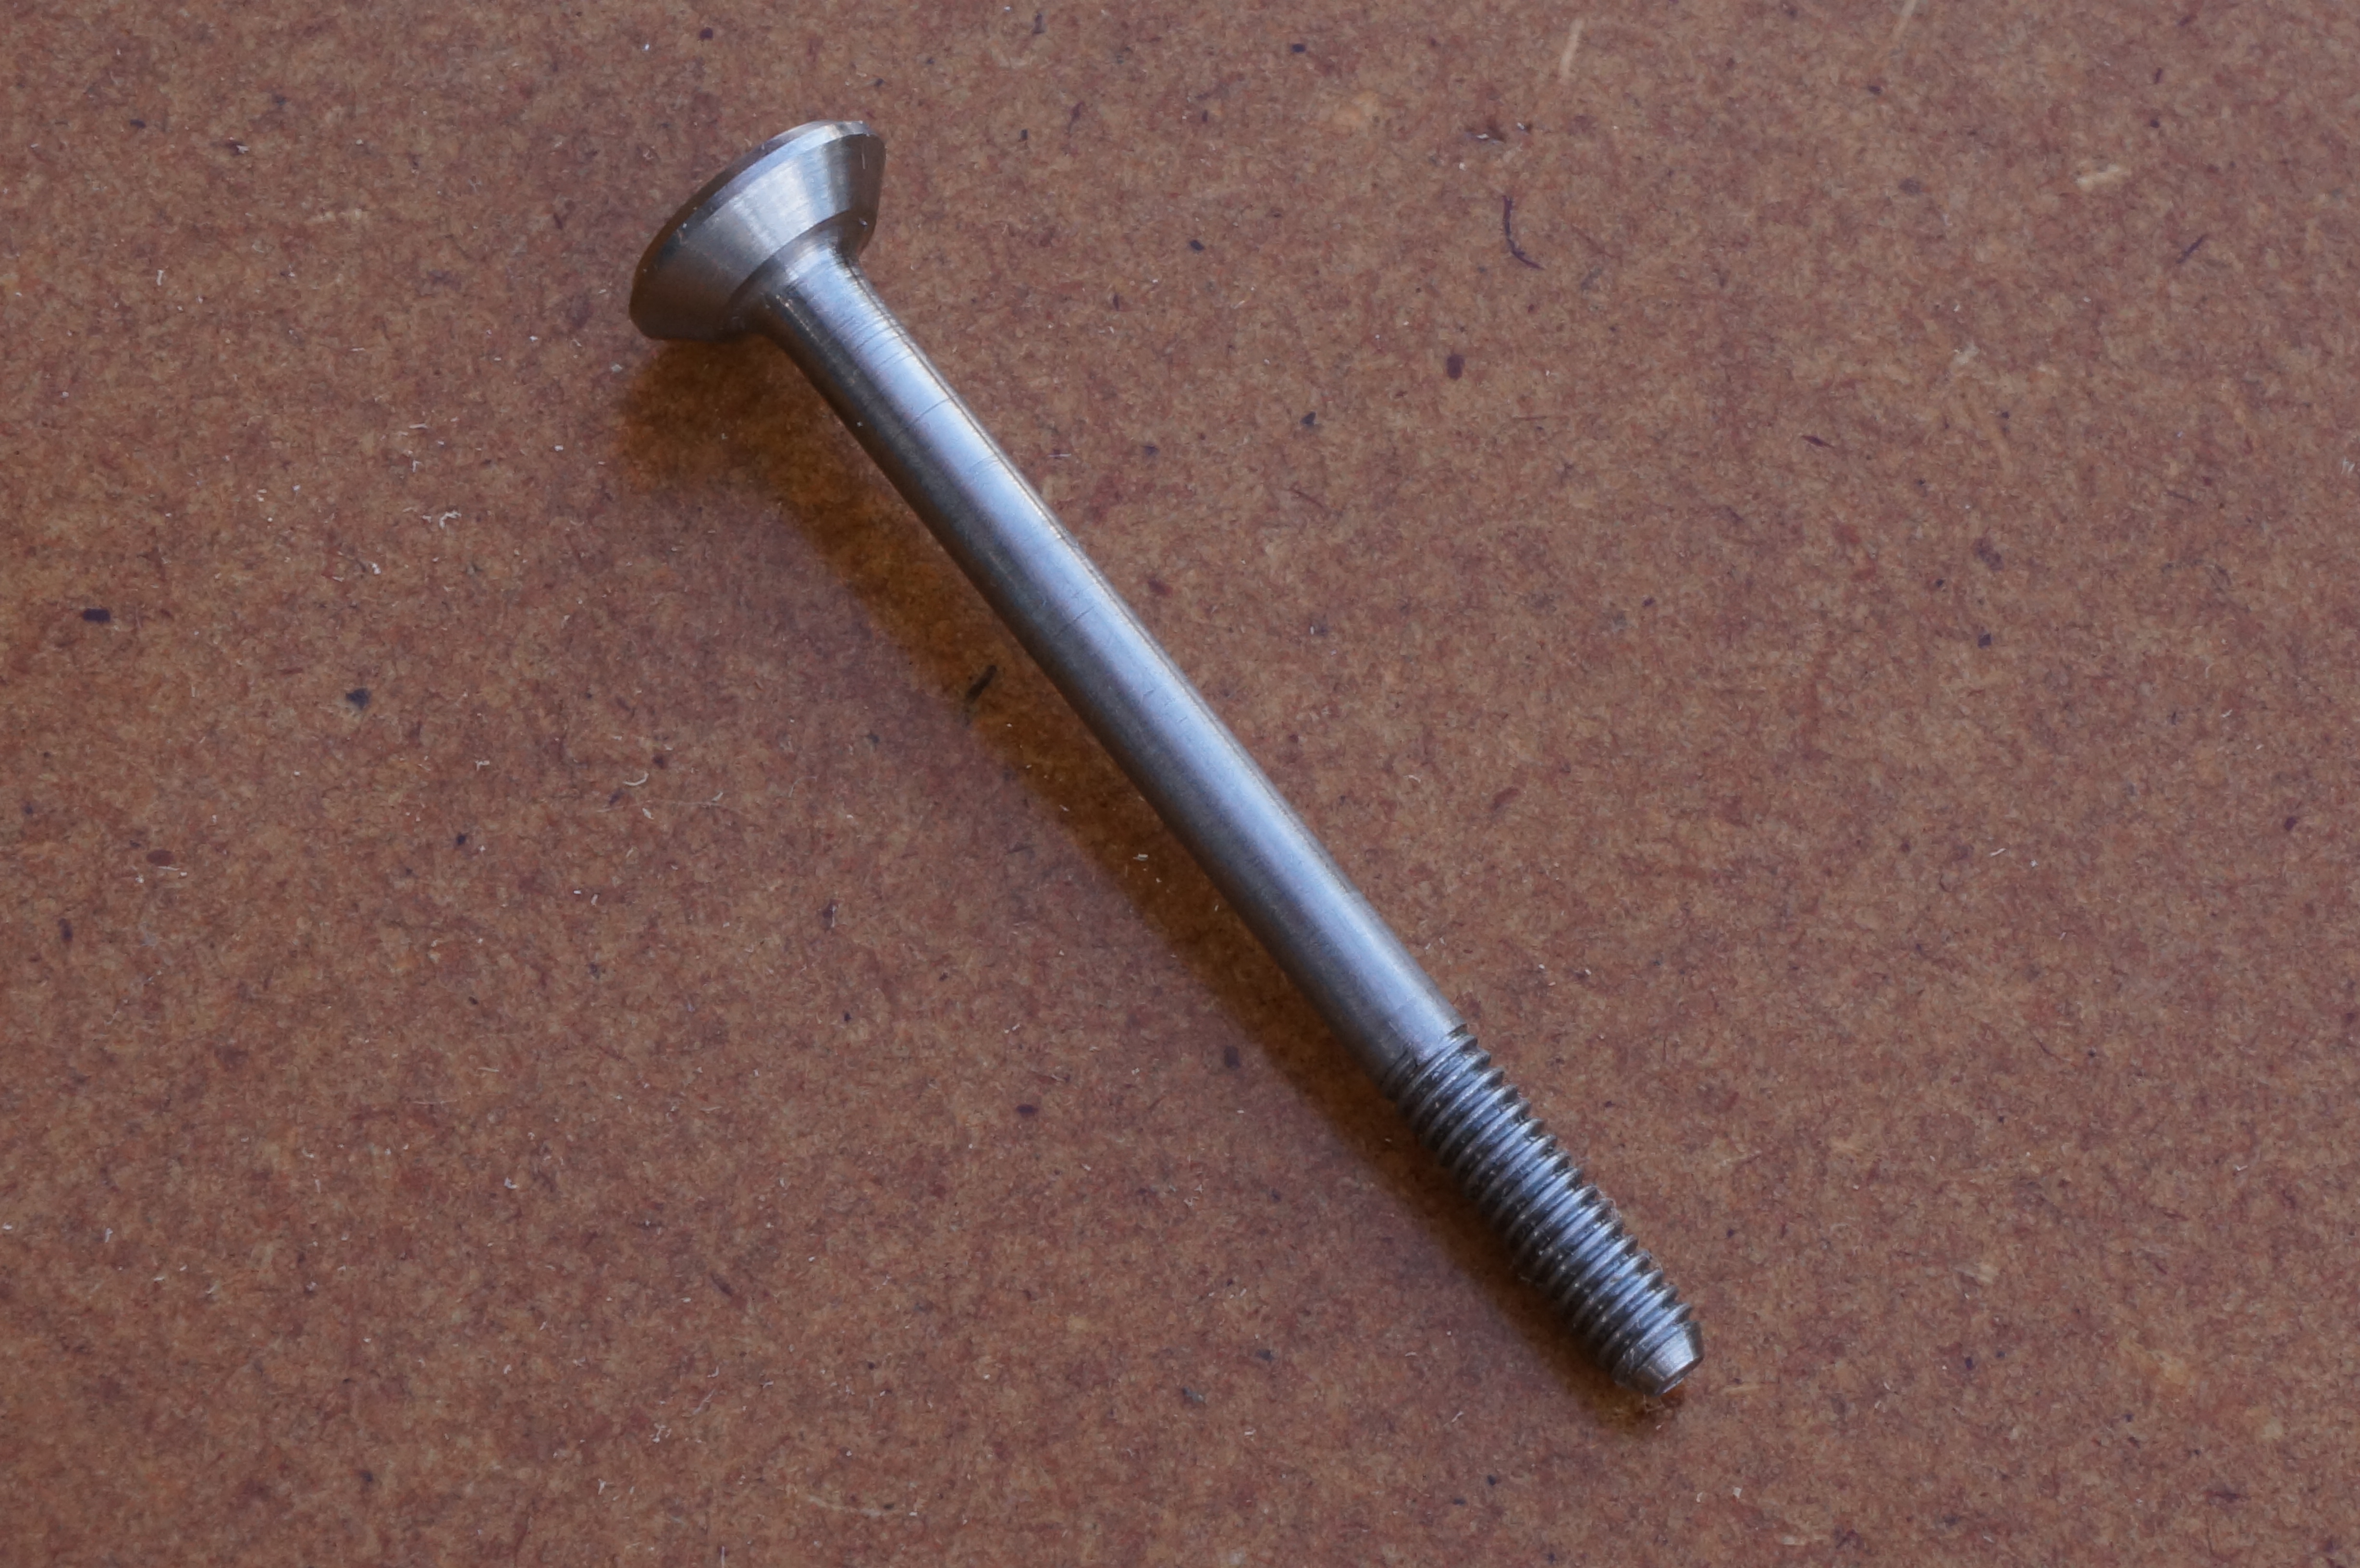
2017-03-18 – Making Valves

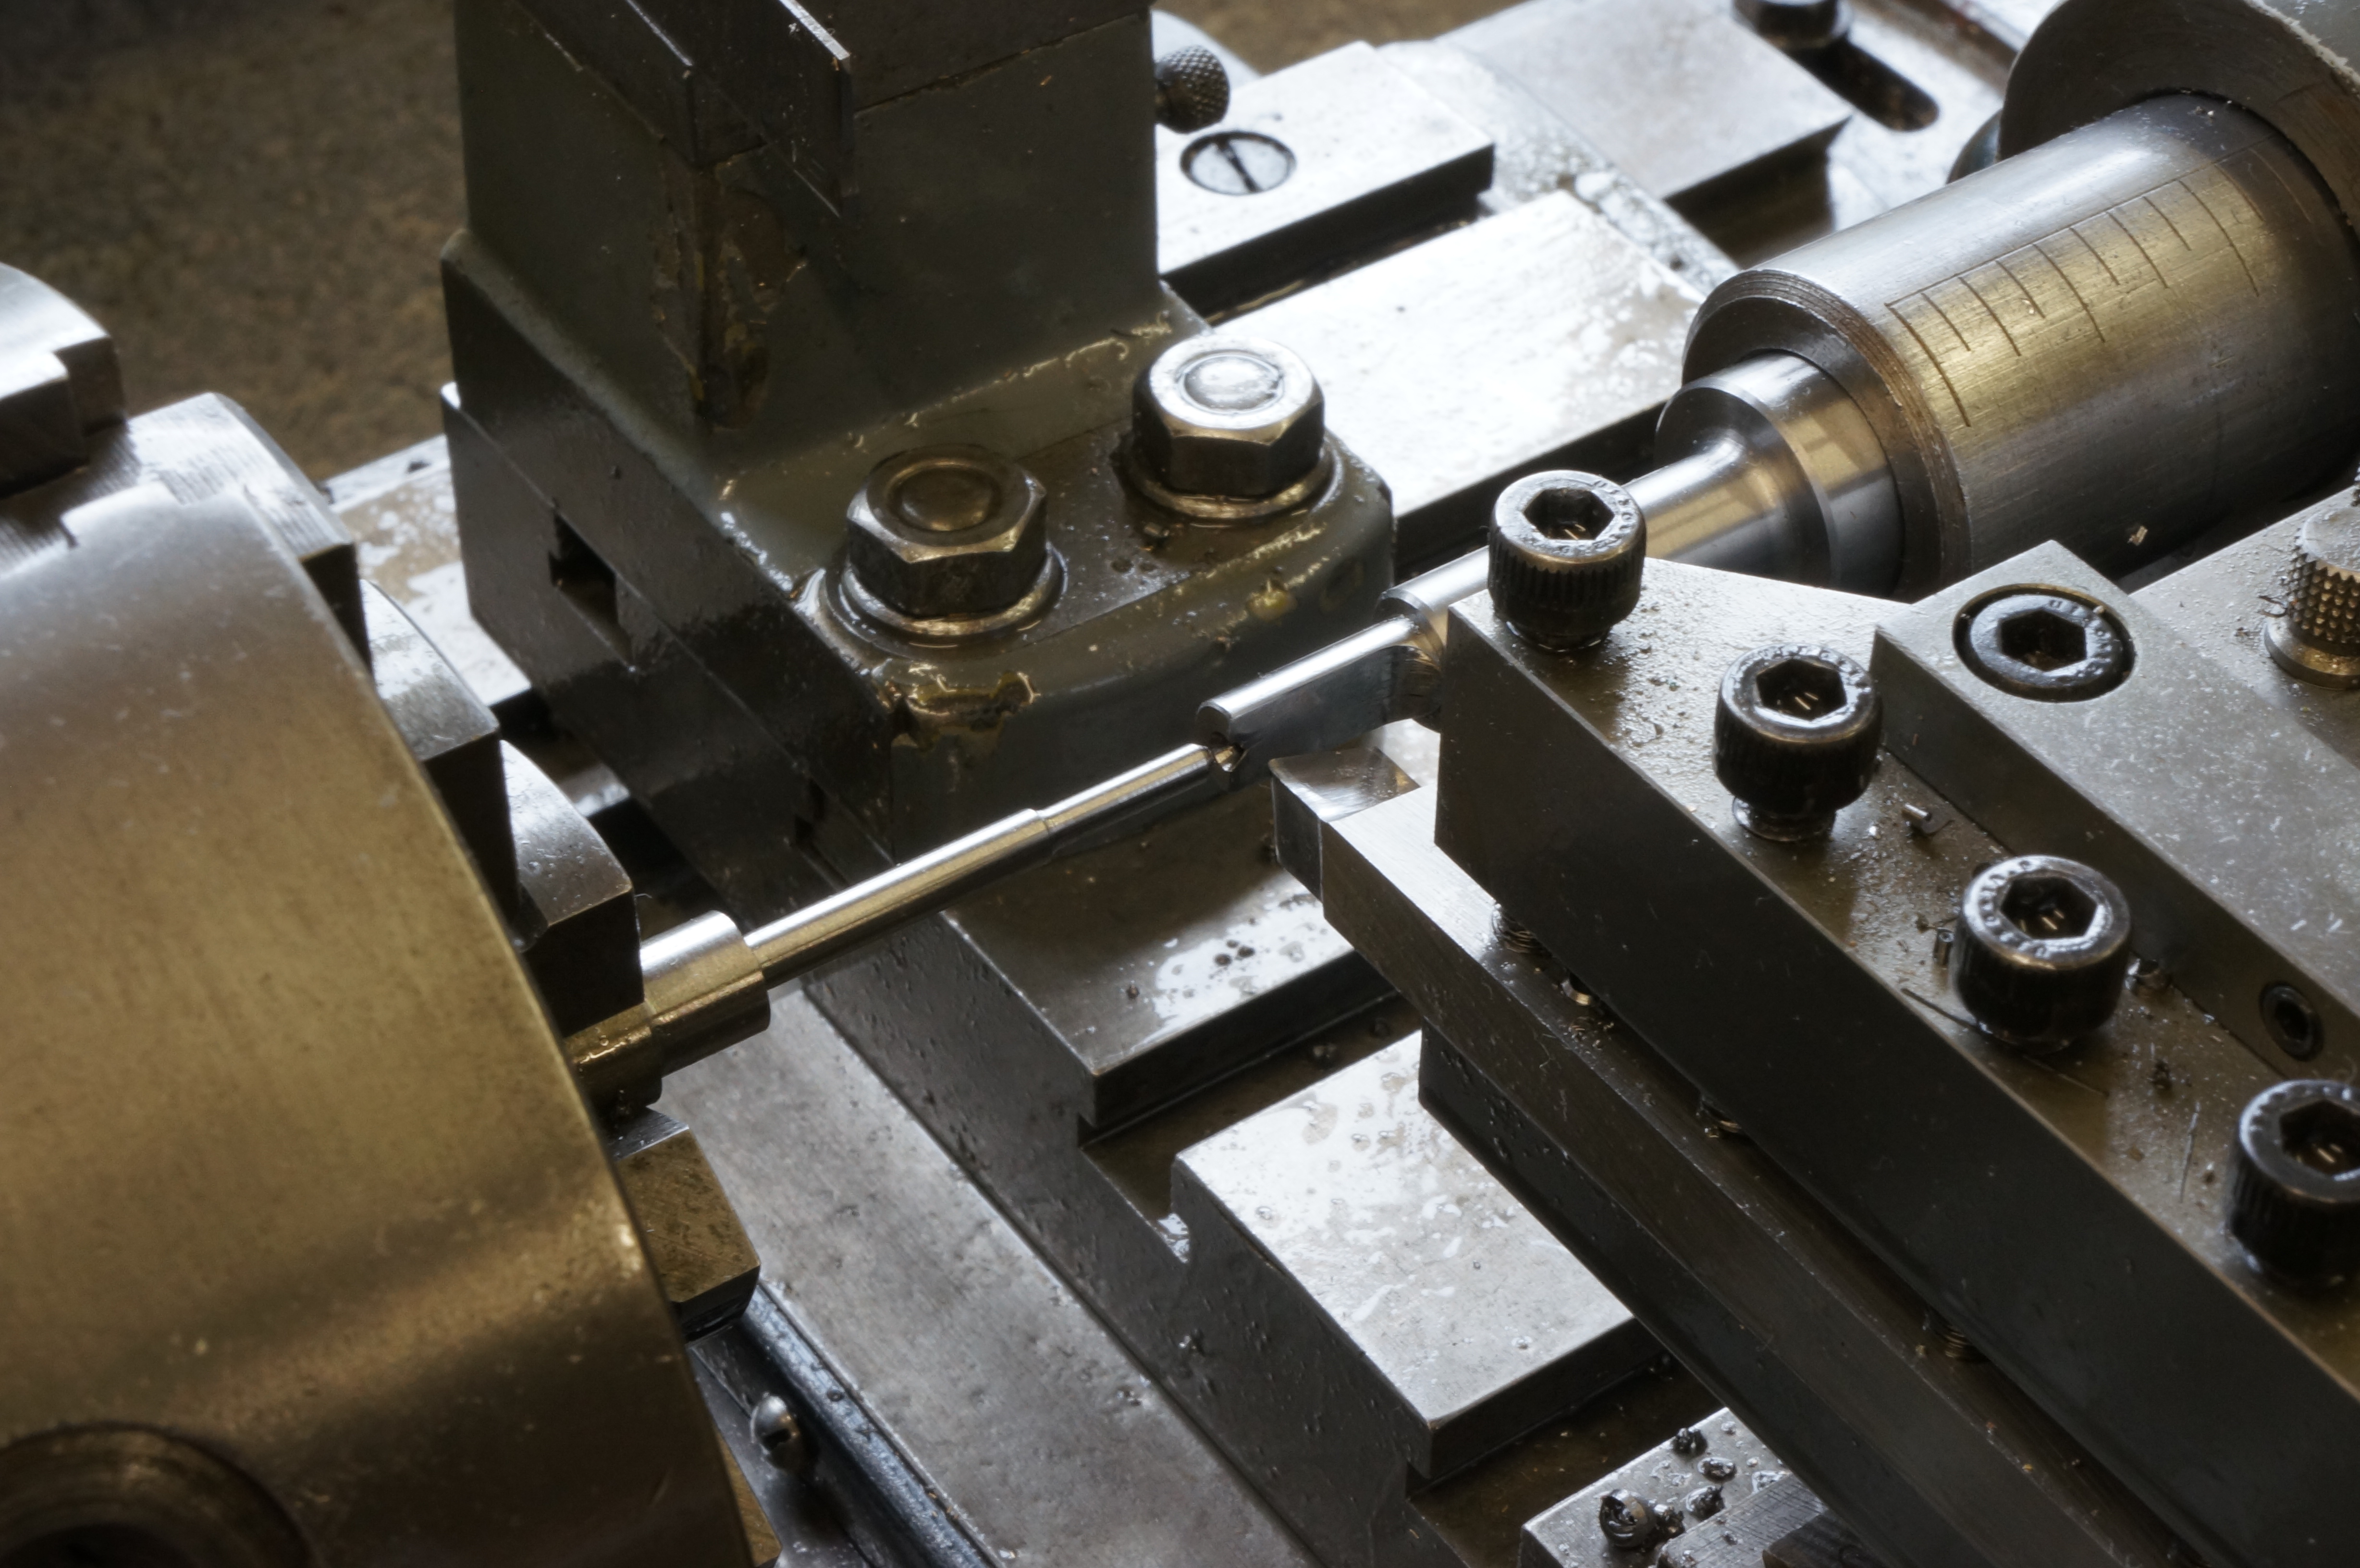
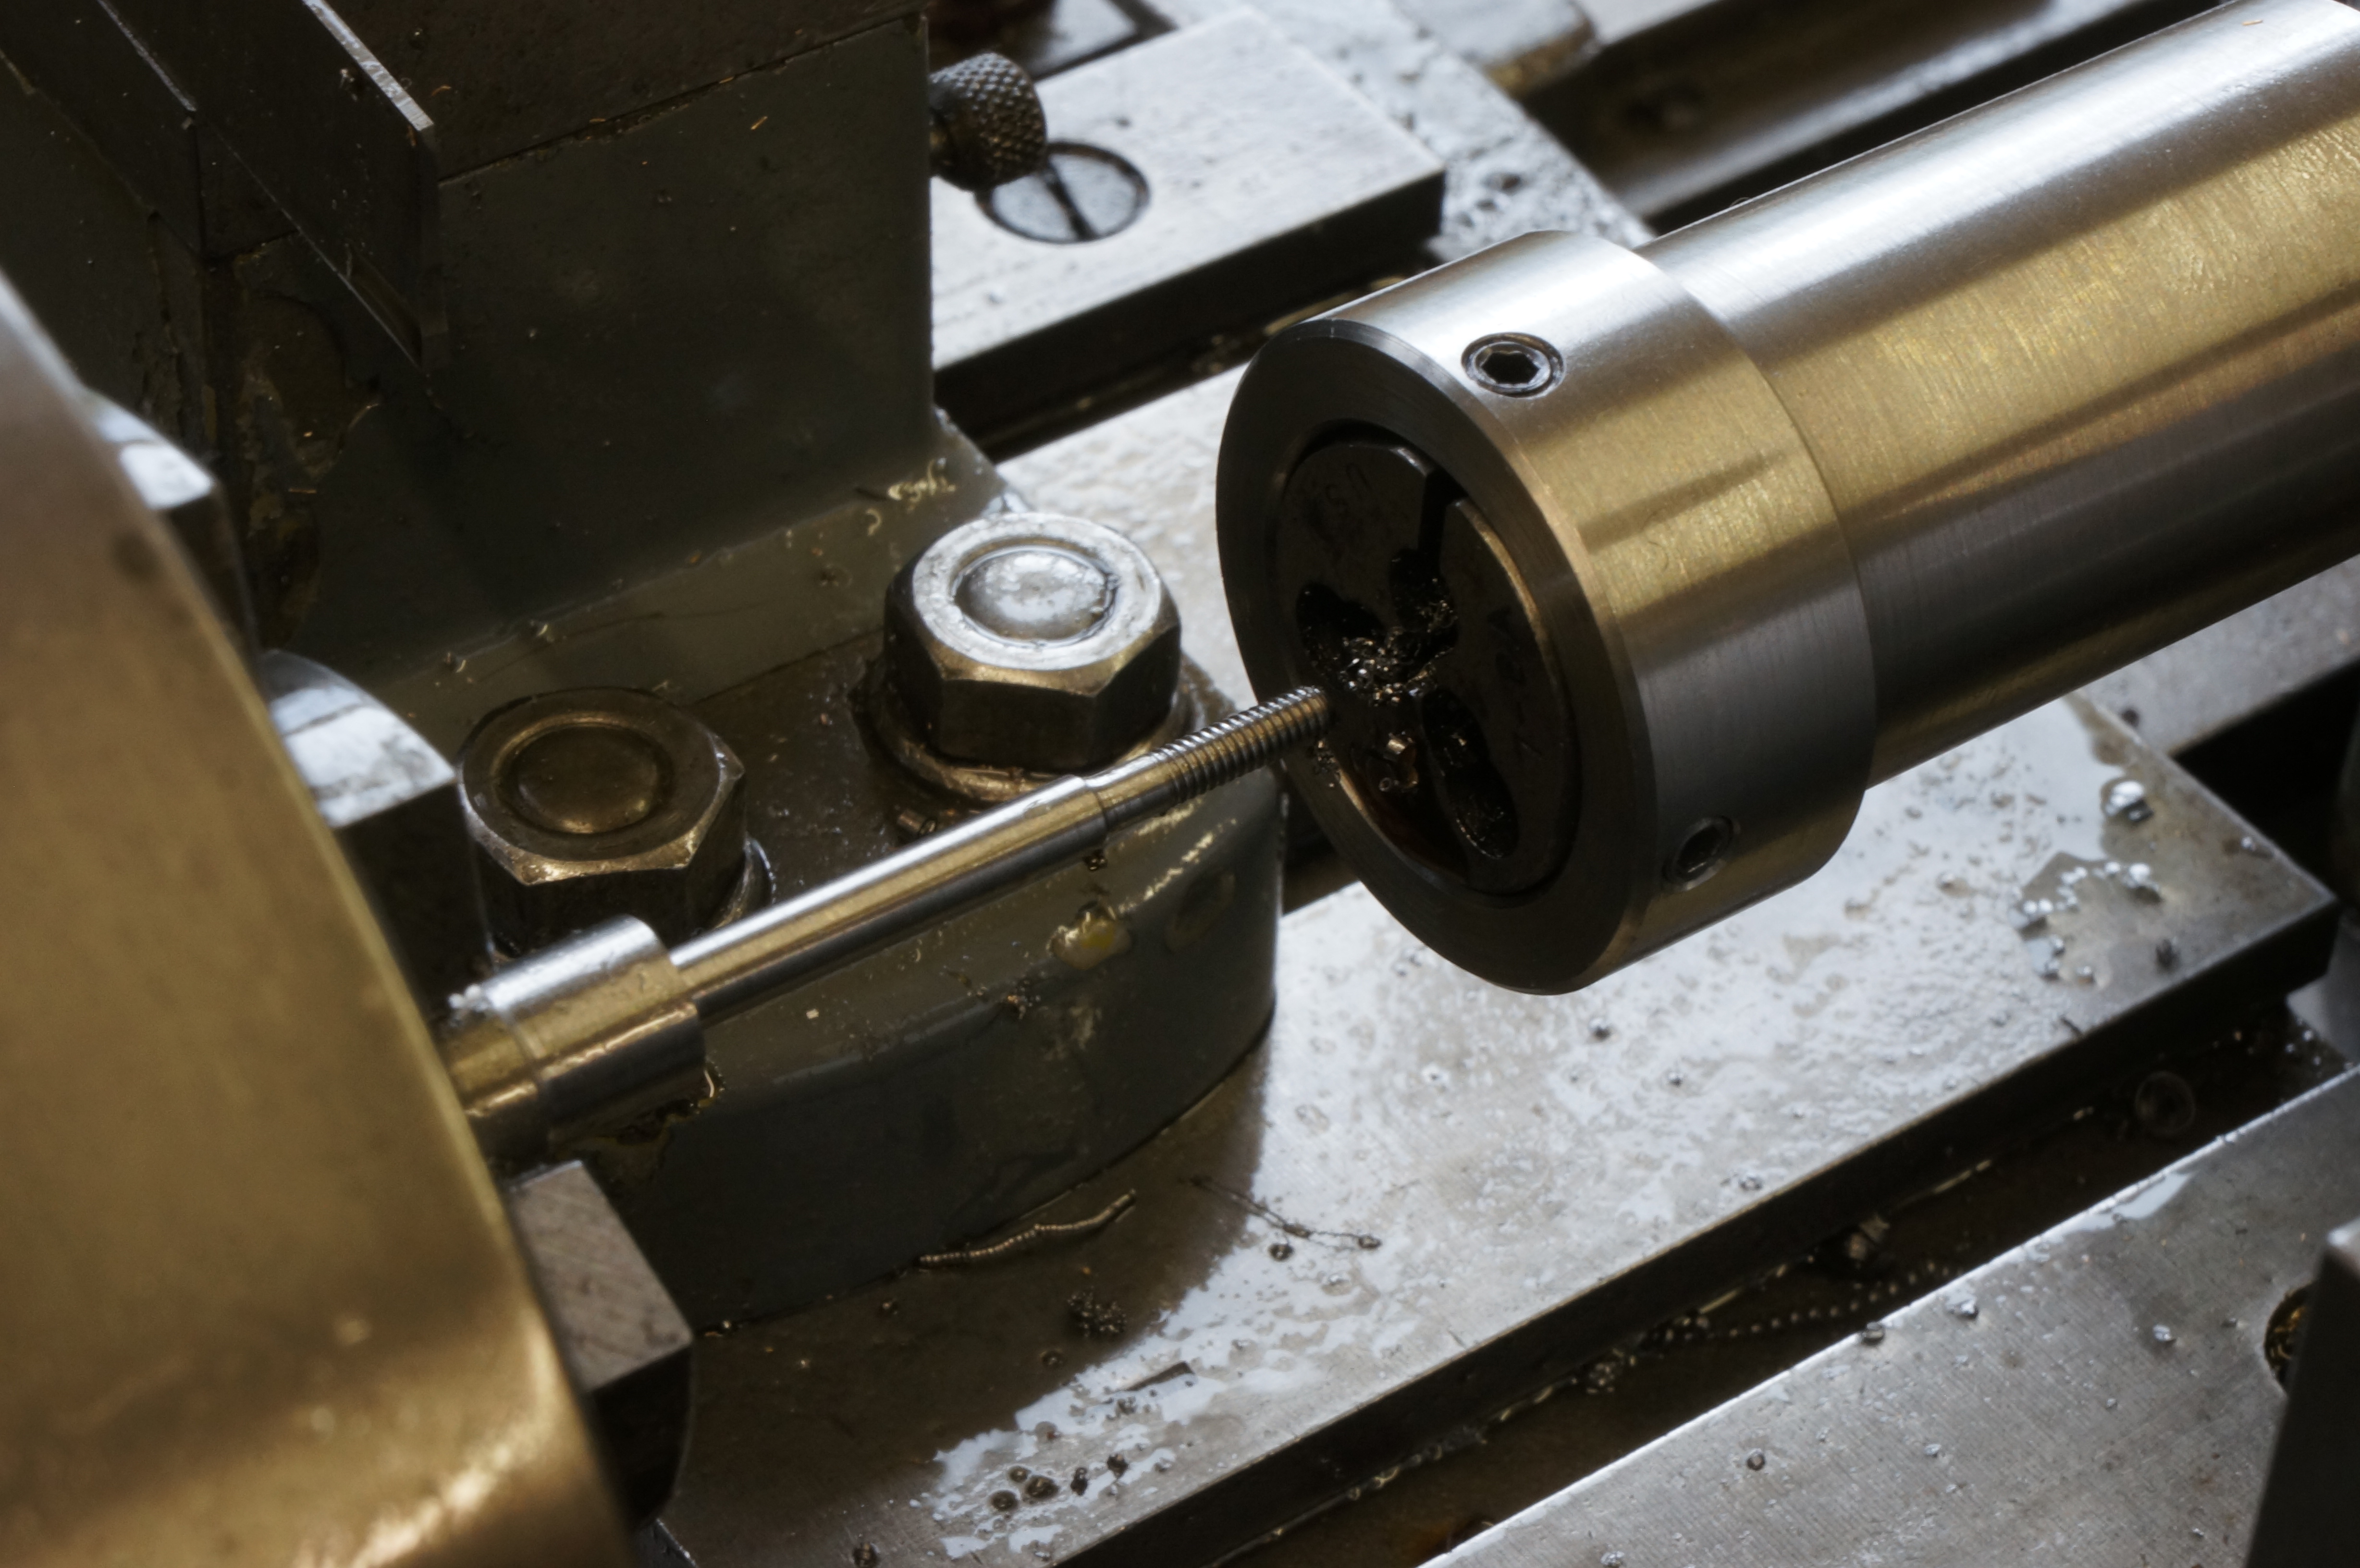
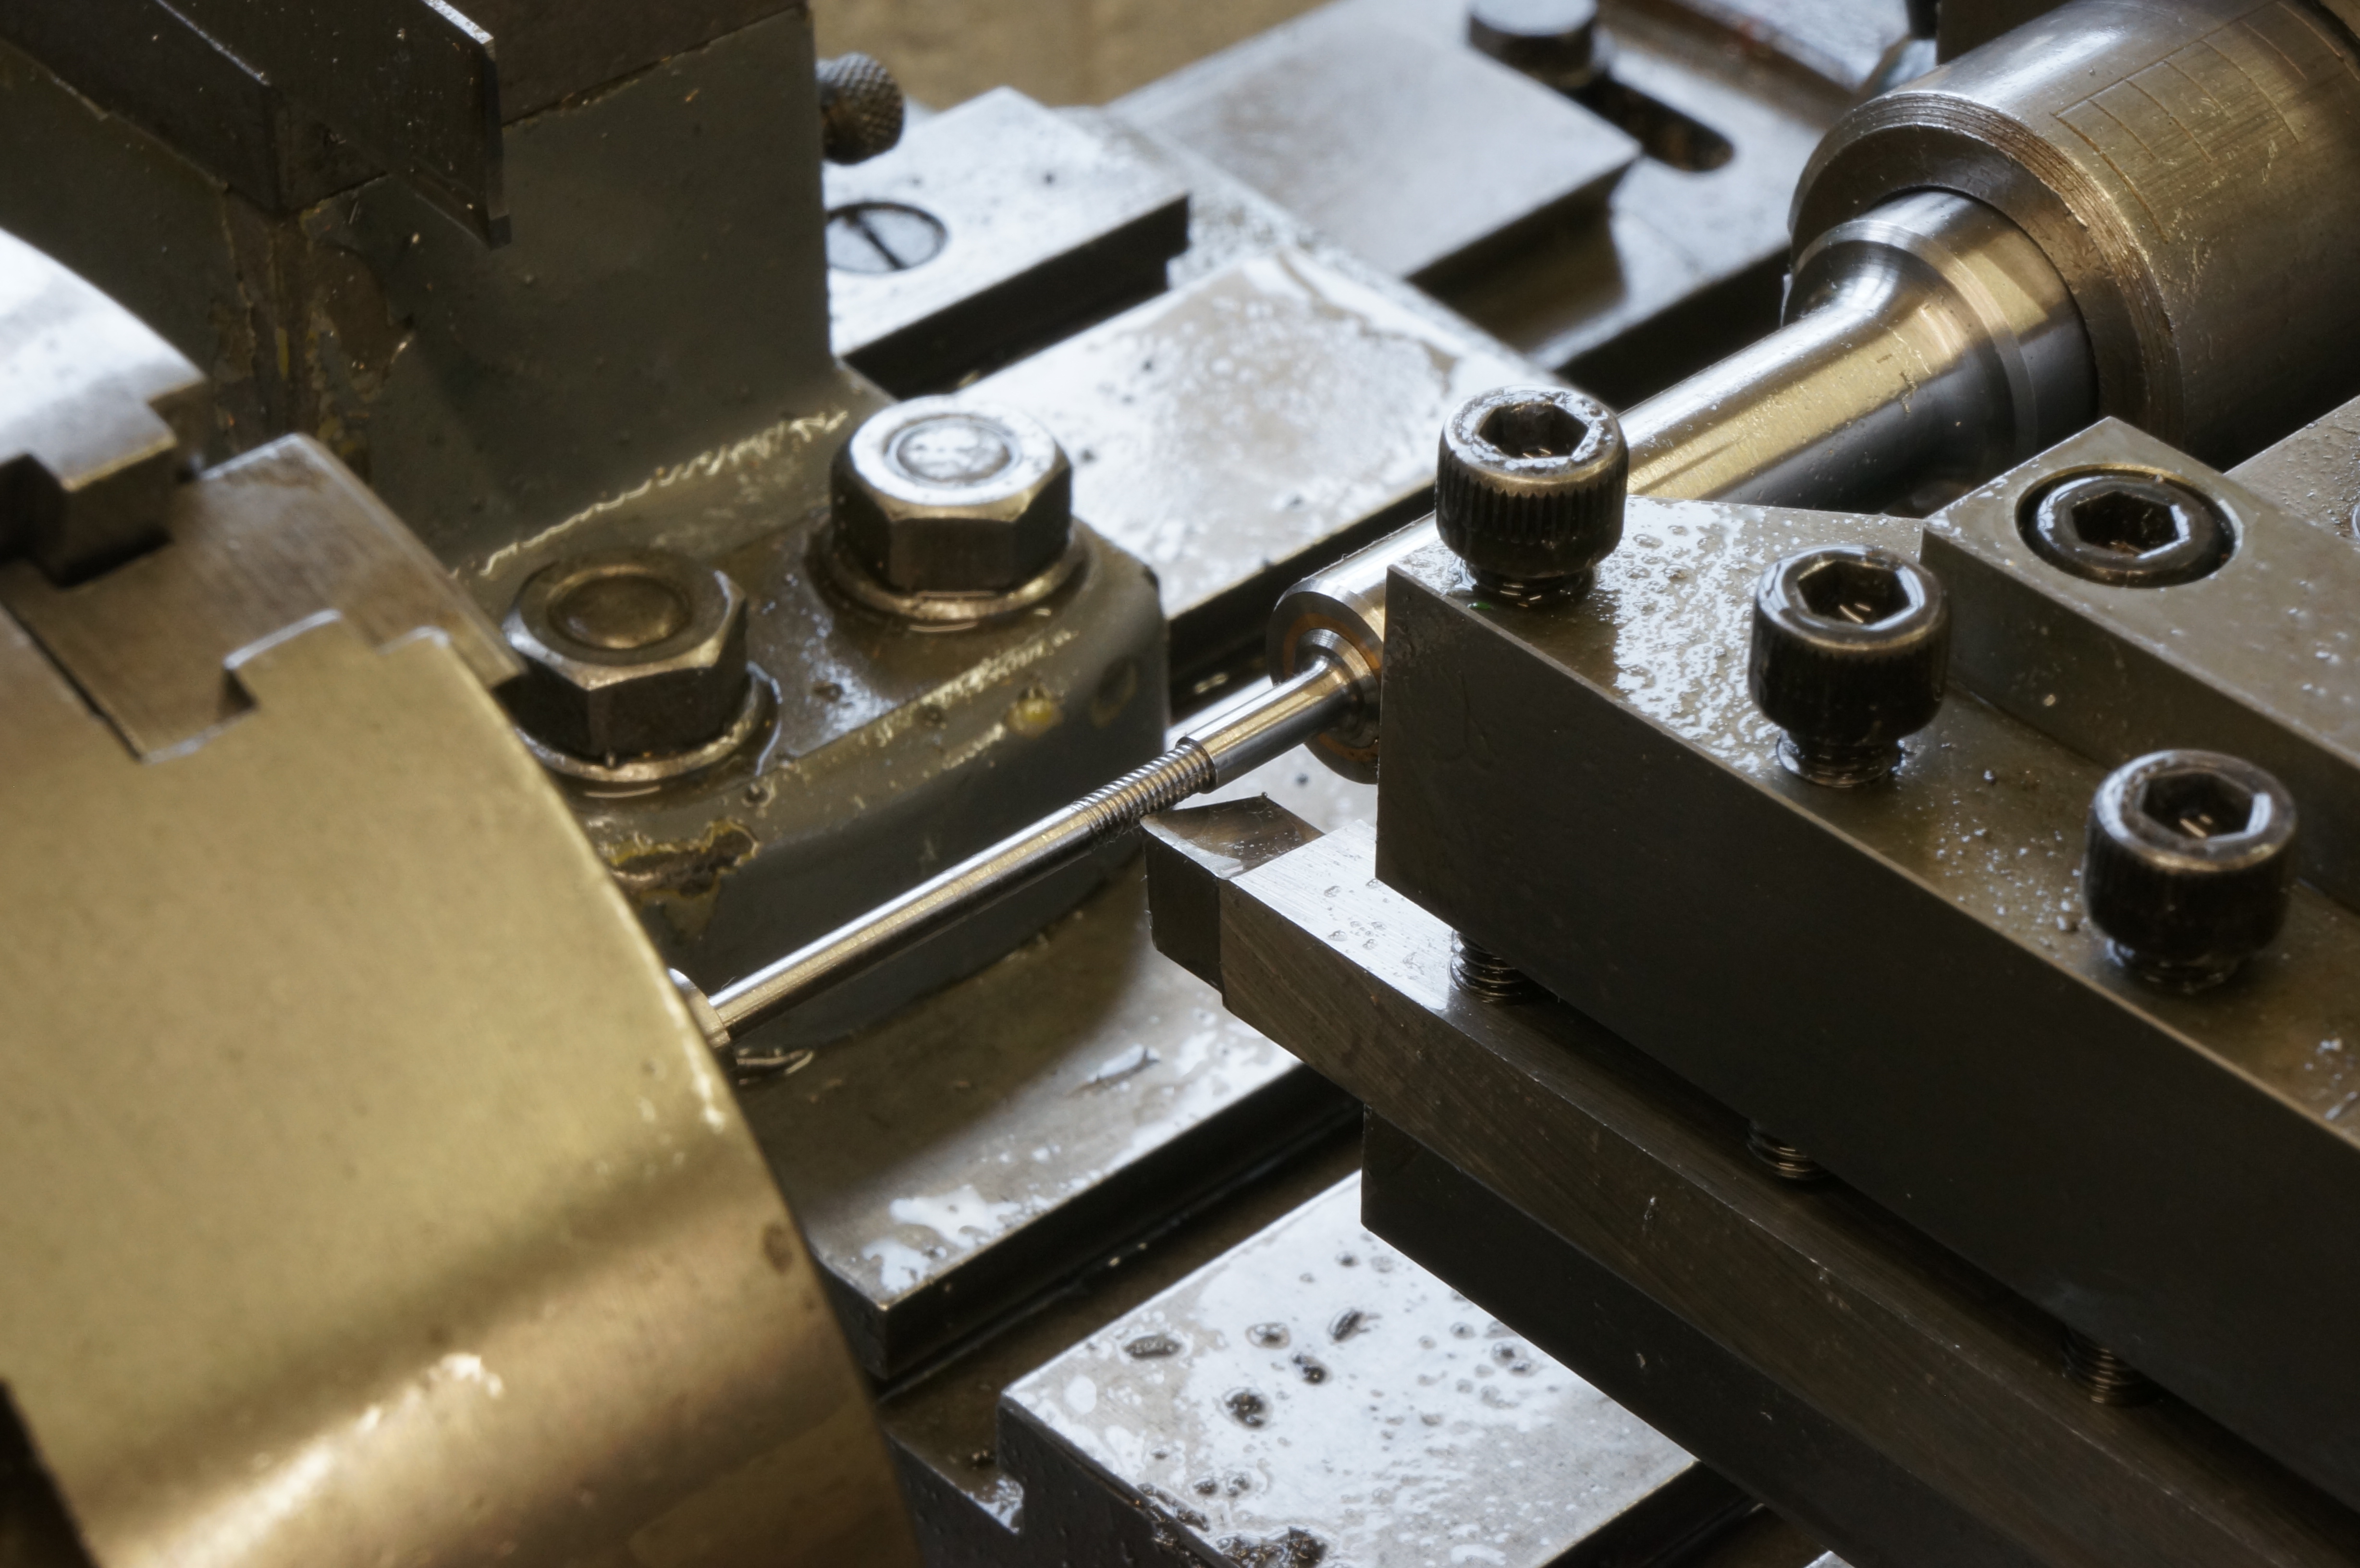

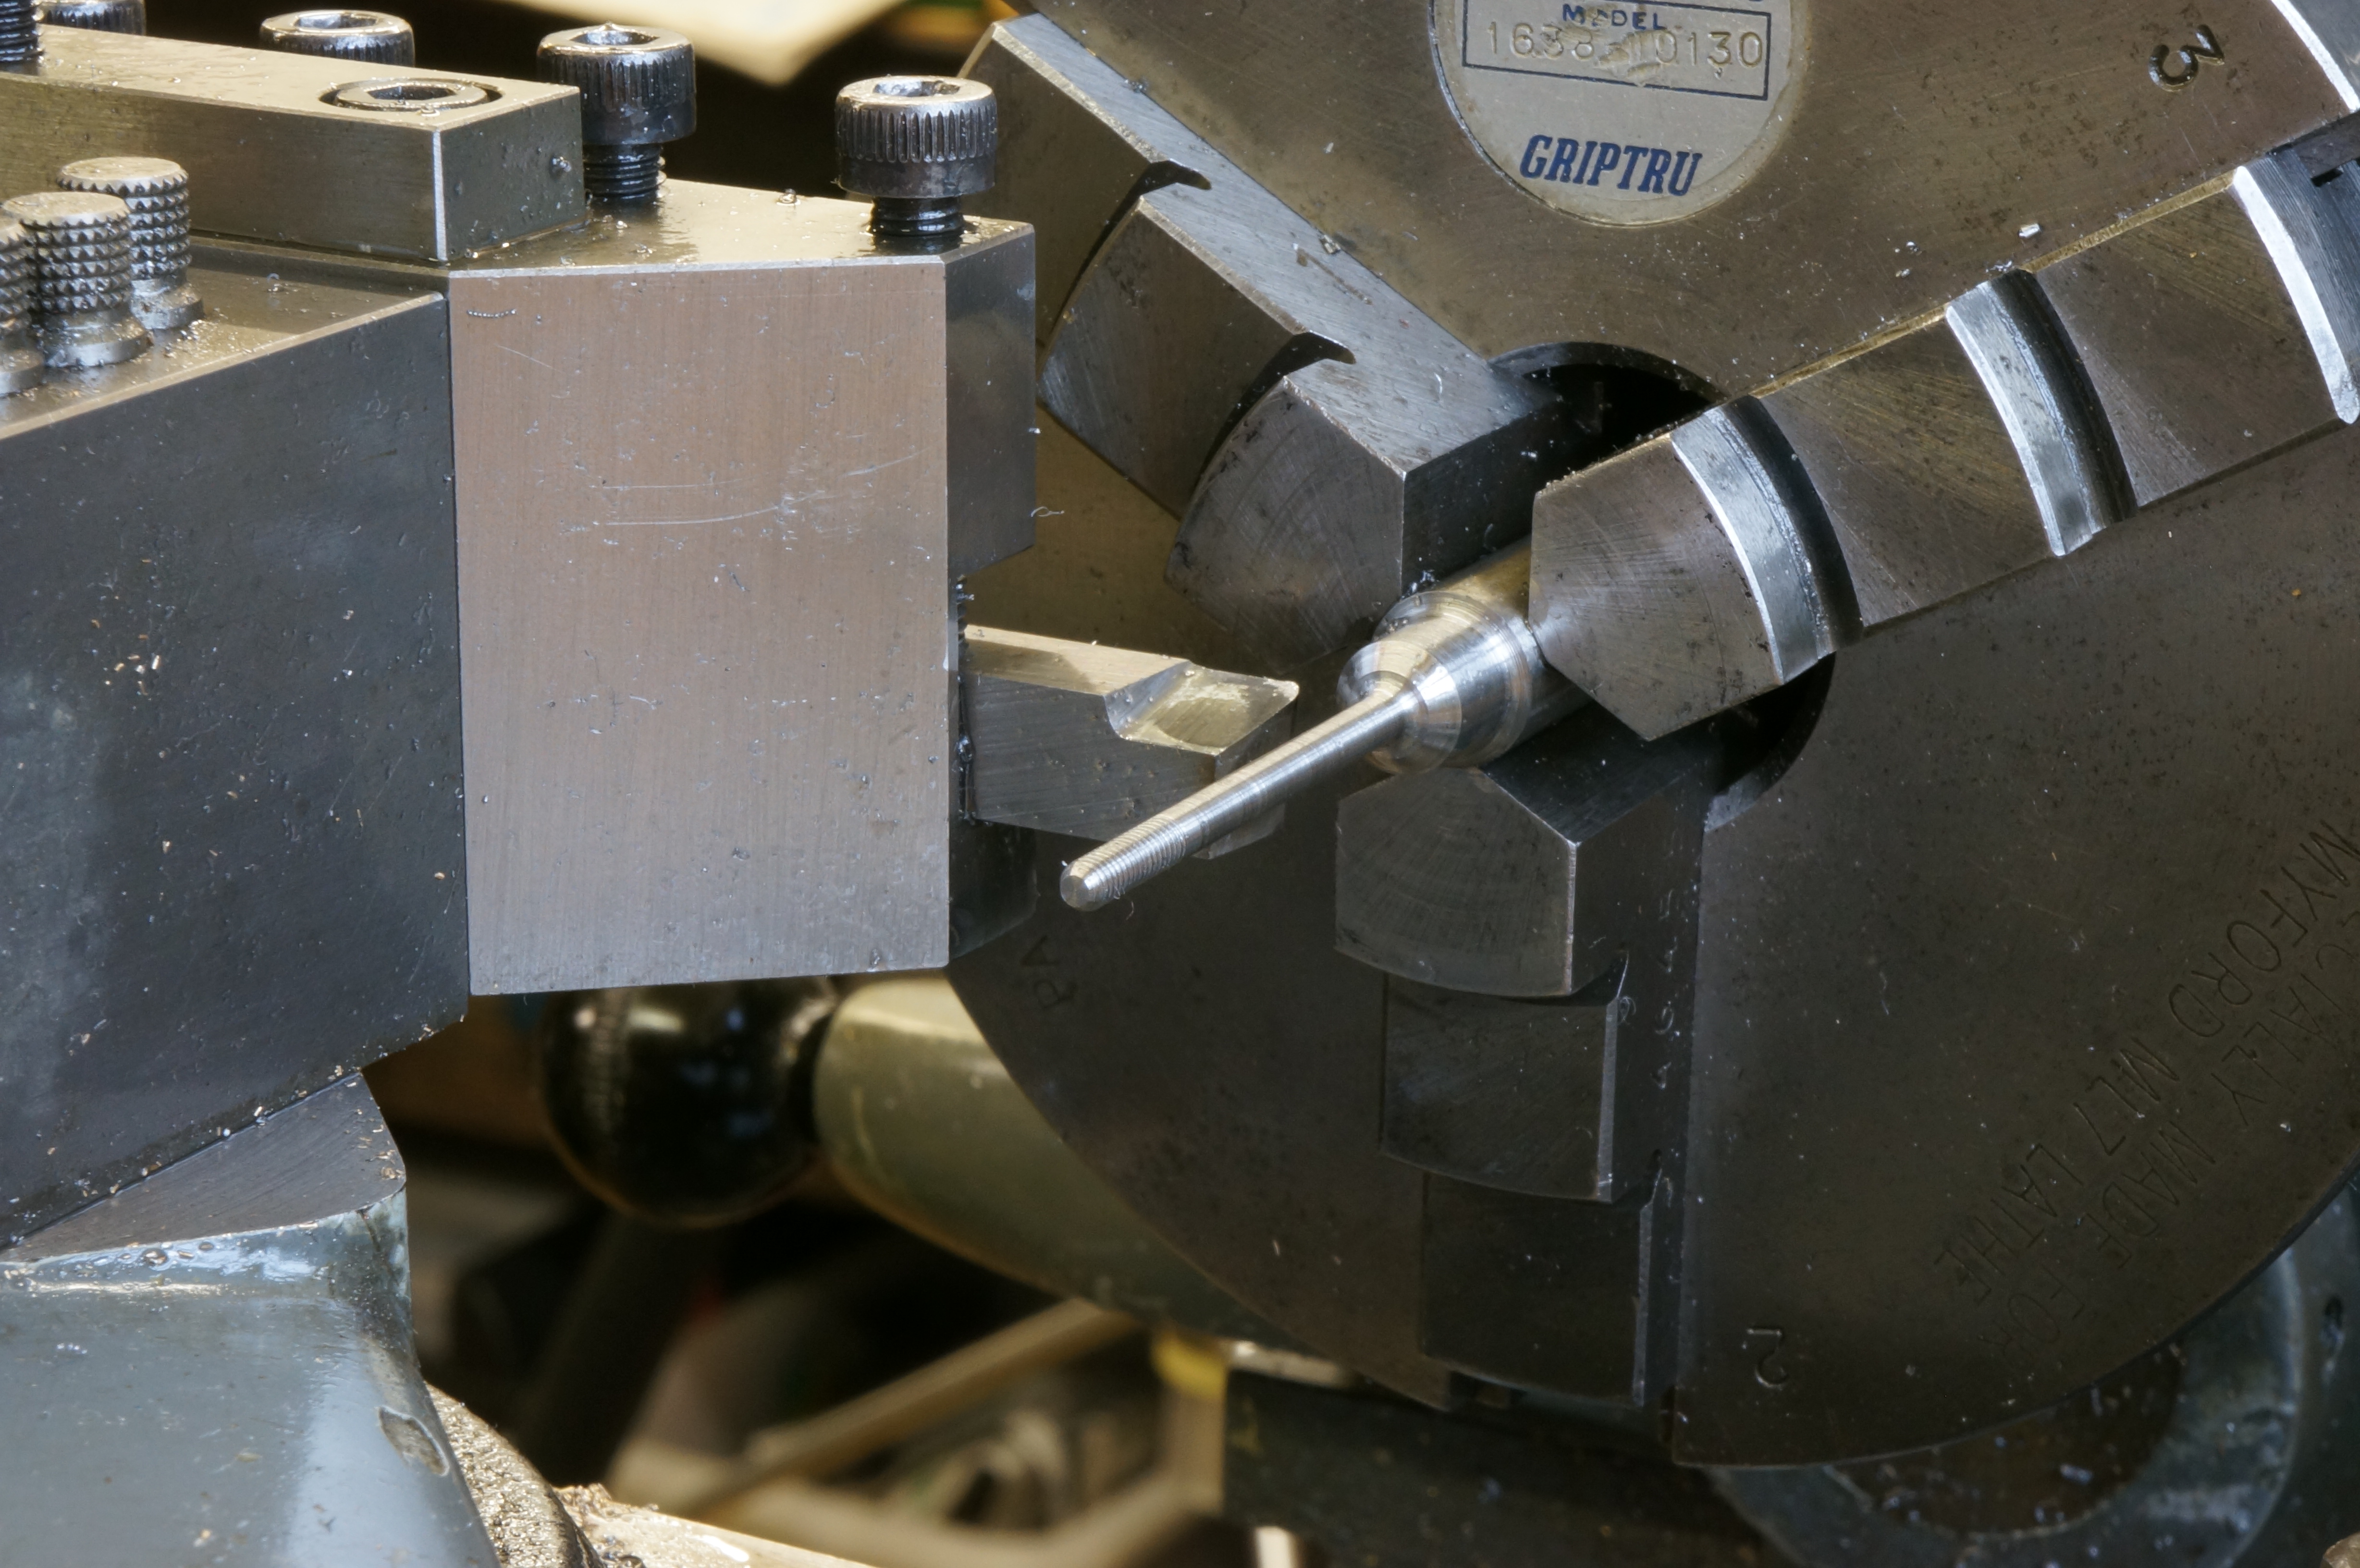
With the stem already rough turned (1st photo), and the male centre cone taper turned (2nd photo), I turned a 7⁄16″ length for threading, using the half-centre for support, and getting it 0.001″ small at the outboard end (3rd photo). The die-cut thread, (4th photo) was OK, but slightly loose at the outer end. I then turned the stem using my little revolving centre to 0.0991″ at the head end and 0.0994″ at the bottom (5th photo). I finished the head radius to final stem length (6th photo), finish turned the head diameter (a shade small) and taper turned the seat to 45° (7th photo). I then lapped and polished the stem to 0.0985″ diameter and parted off the first valve. All the valve operations are being done at 700 rpm.
After cleaning I tried it. OK. If I remember correctly (as there is nothing in my notes) after deciding on the valve stem target diameter of 0.0984″ I subsequently thought it would be a good idea to give the as-reamed valve guide bores a very light polish, just enough to knock the highest ridges off. Having done that, the valve stems are better for another tenth on diameter.
After lunch I made a second valve (this is the one in the photos). The stem was turned to 0.0992 at the top and 0.0988 at the bottom. In lapping the stem, I must have tightened the lap a bit too much at some stage, as it snatched, leaving a couple of slight grooves, but generally it is good. (3½ hours)
2017-03-19 – Making Valves

Initially, the third valve would not go in any of the guides. By gently gripping the head in the chuck and supporting the tail end with the little running centre, I soon polished it to a fit using 1200 grit paper. There may have been a small burr thrown up by the die, as the stem is not noticeably smaller.
The fourth valve has a stem diameter of 0.0984″, a tenth slack. This one should be used for an exhaust valve. I also managed to cut the seat chamfer and part off before realising I had not finish turned the head diameter. Putting it in a collet to finish the OD was easy enough, but that left the seating chamfer too narrow. After a bit of head scratching, I rescued it by using a tool with a 40° included angle to turn down the slope, right next to the collet. In a brief late session, I faced the head to thickness and cut the small chamfer on the end. One finished. (3½ hours)
2017-03-20 – Finishing the Valves

Today I finished work on the valves by facing the three remaining heads to thickness and cutting the small chamfer on the top faces. I am relieved to have finally got that job out of the way. Now I can assemble an engine. (¾ hours)

.
Valve Springs
2017-03-20 – Fettling the Springs
After tidying up a bit, I used the Dremel to grind a Britool 4BA spanner so that it actually fitted on a 4BA hexagon.
During trial assembly, I noticed the valve springs seemed to catch on the nuts. The nuts have a radius on the shoulder, while the closed ends of the springs are ground flat. I used the Dremel to grind a radius or chamfer inside the last ¼ turn or so of each spring. I also gave them a rub on an oilstone to ensure a good contact area. (1¼ hours)
.